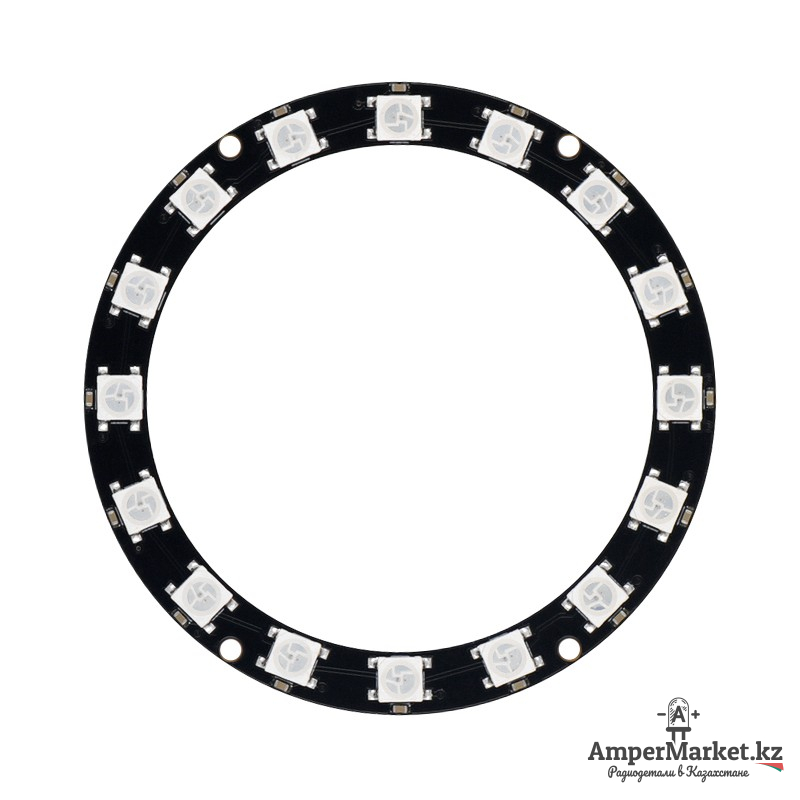
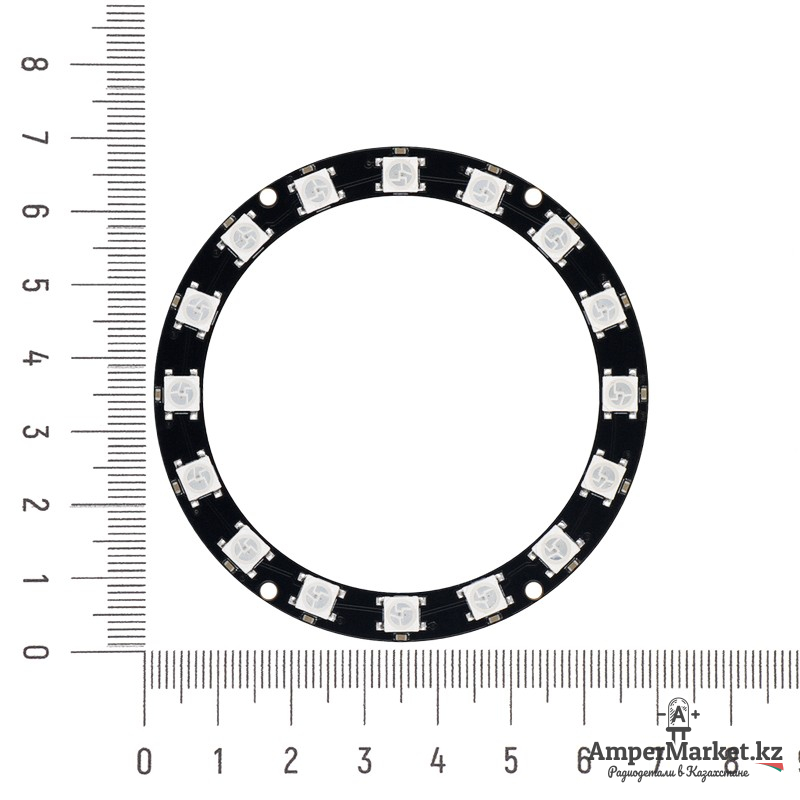
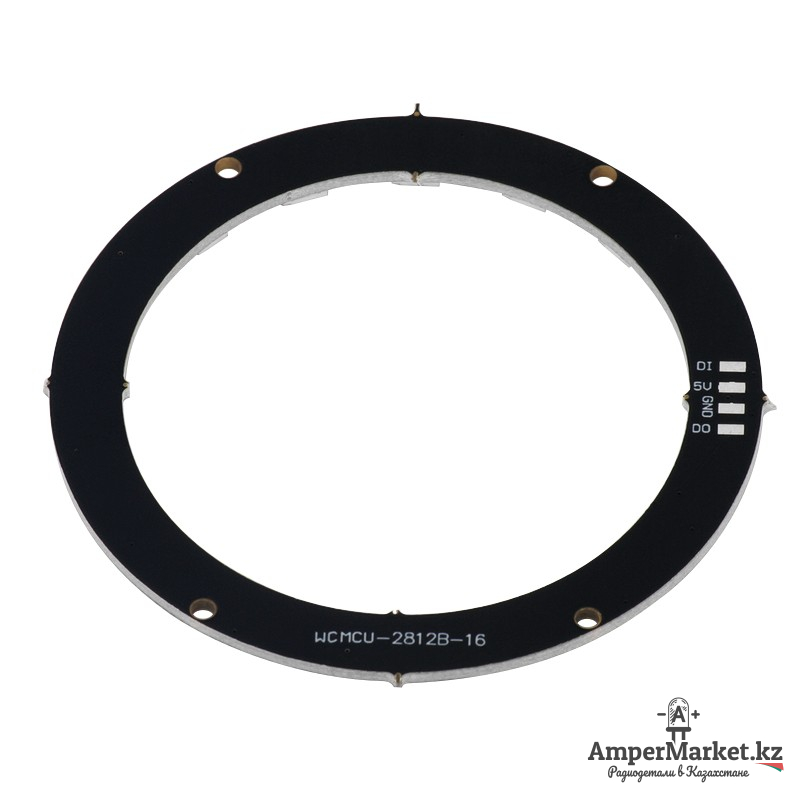
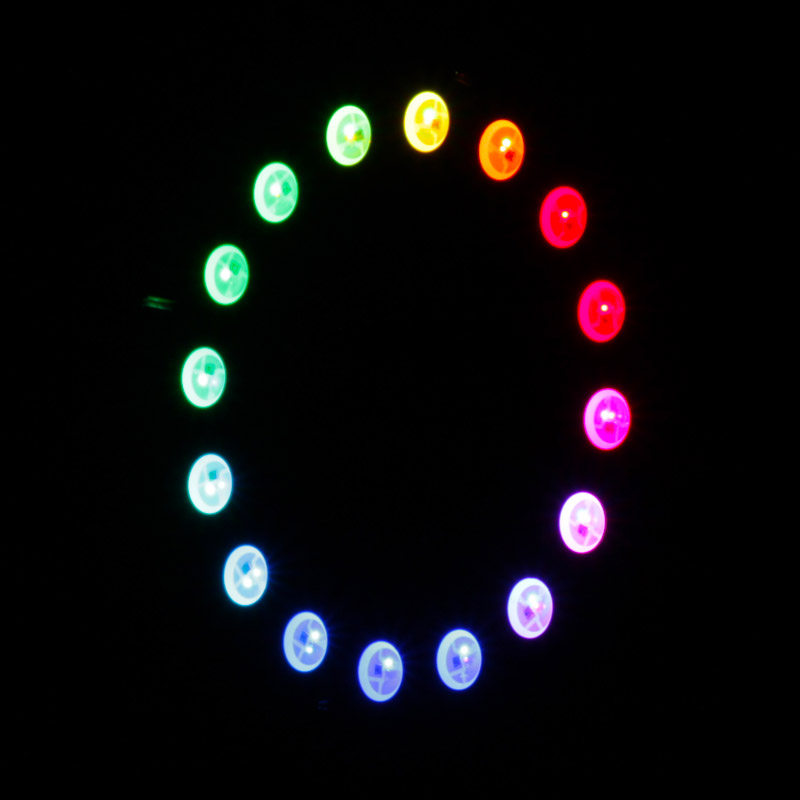
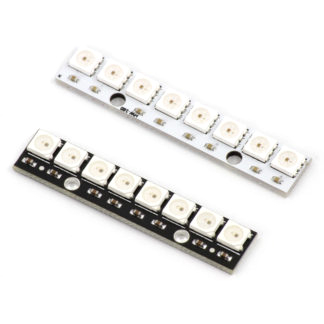
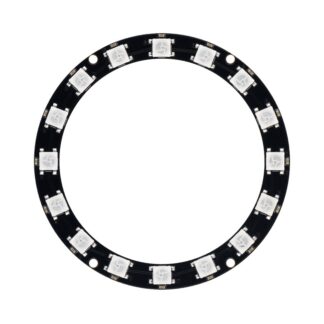
Алгоритм управления линейкой NeoPixel WS2812 очень прост: первый светодиод принимает и записывает в свою внутреннюю память первые 24 бита с информацией о яркости каждого из трех встроенных в него диодов, а все остальные биты последовательности передает второму светодиоду. Соответственно второй светодиод получит и обработает свои 24 бита, а оставшуюся часть исходного сигнала передаст третьему и т.д. После передачи данных для всех светодиодов необходимо сделать паузу длиной 50 мкс, чтобы состояние светодиодов обновилось.
Для генерации управляющего сигнала может пригодиться микроконтроллер или плата Arduino.
Пример
GND > GND
5V > 5V
D6 > DIN (между ними резистор 200 – 500 Ом)
|
1 2 3 4 5 6 7 8 9 10 11 12 13 14 15 16 17 18 19 20 21 22 23 24 25 26 27 28 29 30 31 32 33 34 35 36 37 38 39 40 41 42 43 44 45 46 47 48 49 50 51 52 53 54 55 56 57 58 59 60 61 62 63 64 65 66 67 68 69 70 71 72 73 74 75 76 77 78 79 80 81 82 83 84 85 86 87 88 89 90 91 92 93 94 95 96 97 98 99 100 101 102 103 104 105 106 107 108 109 110 111 112 113 114 115 116 117 118 119 120 121 122 123 124 125 126 127 128 129 130 131 132 133 134 135 136 137 138 139 140 141 142 143 144 145 146 147 |
// A basic everyday NeoPixel strip test program. // NEOPIXEL BEST PRACTICES for most reliable operation: // - Add 1000 uF CAPACITOR between NeoPixel strip's + and - connections. // - MINIMIZE WIRING LENGTH between microcontroller board and first pixel. // - NeoPixel strip's DATA-IN should pass through a 300-500 OHM RESISTOR. // - AVOID connecting NeoPixels on a LIVE CIRCUIT. If you must, ALWAYS // connect GROUND (-) first, then +, then data. // - When using a 3.3V microcontroller with a 5V-powered NeoPixel strip, // a LOGIC-LEVEL CONVERTER on the data line is STRONGLY RECOMMENDED. // (Skipping these may work OK on your workbench but can fail in the field) #include <Adafruit_NeoPixel.h> #ifdef __AVR__ #include <avr/power.h> // Required for 16 MHz Adafruit Trinket #endif // Which pin on the Arduino is connected to the NeoPixels? // On a Trinket or Gemma we suggest changing this to 1: #define LED_PIN 6 // How many NeoPixels are attached to the Arduino? #define LED_COUNT 16 // Declare our NeoPixel strip object: Adafruit_NeoPixel strip(LED_COUNT, LED_PIN, NEO_GRB + NEO_KHZ800); // Argument 1 = Number of pixels in NeoPixel strip // Argument 2 = Arduino pin number (most are valid) // Argument 3 = Pixel type flags, add together as needed: // NEO_KHZ800 800 KHz bitstream (most NeoPixel products w/WS2812 LEDs) // NEO_KHZ400 400 KHz (classic 'v1' (not v2) FLORA pixels, WS2811 drivers) // NEO_GRB Pixels are wired for GRB bitstream (most NeoPixel products) // NEO_RGB Pixels are wired for RGB bitstream (v1 FLORA pixels, not v2) // NEO_RGBW Pixels are wired for RGBW bitstream (NeoPixel RGBW products) // setup() function -- runs once at startup -------------------------------- void setup() { // These lines are specifically to support the Adafruit Trinket 5V 16 MHz. // Any other board, you can remove this part (but no harm leaving it): #if defined(__AVR_ATtiny85__) && (F_CPU == 16000000) clock_prescale_set(clock_div_1); #endif // END of Trinket-specific code. strip.begin(); // INITIALIZE NeoPixel strip object (REQUIRED) strip.show(); // Turn OFF all pixels ASAP strip.setBrightness(50); // Set BRIGHTNESS to about 1/5 (max = 255) } // loop() function -- runs repeatedly as long as board is on --------------- void loop() { // Fill along the length of the strip in various colors... colorWipe(strip.Color(255, 0, 0), 50); // Red colorWipe(strip.Color( 0, 255, 0), 50); // Green colorWipe(strip.Color( 0, 0, 255), 50); // Blue // Do a theater marquee effect in various colors... theaterChase(strip.Color(127, 127, 127), 50); // White, half brightness theaterChase(strip.Color(127, 0, 0), 50); // Red, half brightness theaterChase(strip.Color( 0, 0, 127), 50); // Blue, half brightness rainbow(10); // Flowing rainbow cycle along the whole strip theaterChaseRainbow(50); // Rainbow-enhanced theaterChase variant } // Some functions of our own for creating animated effects ----------------- // Fill strip pixels one after another with a color. Strip is NOT cleared // first; anything there will be covered pixel by pixel. Pass in color // (as a single 'packed' 32-bit value, which you can get by calling // strip.Color(red, green, blue) as shown in the loop() function above), // and a delay time (in milliseconds) between pixels. void colorWipe(uint32_t color, int wait) { for(int i=0; i<strip.numPixels(); i++) { // For each pixel in strip... strip.setPixelColor(i, color); // Set pixel's color (in RAM) strip.show(); // Update strip to match delay(wait); // Pause for a moment } } // Theater-marquee-style chasing lights. Pass in a color (32-bit value, // a la strip.Color(r,g,b) as mentioned above), and a delay time (in ms) // between frames. void theaterChase(uint32_t color, int wait) { for(int a=0; a<10; a++) { // Repeat 10 times... for(int b=0; b<3; b++) { // 'b' counts from 0 to 2... strip.clear(); // Set all pixels in RAM to 0 (off) // 'c' counts up from 'b' to end of strip in steps of 3... for(int c=b; c<strip.numPixels(); c += 3) { strip.setPixelColor(c, color); // Set pixel 'c' to value 'color' } strip.show(); // Update strip with new contents delay(wait); // Pause for a moment } } } // Rainbow cycle along whole strip. Pass delay time (in ms) between frames. void rainbow(int wait) { // Hue of first pixel runs 5 complete loops through the color wheel. // Color wheel has a range of 65536 but it's OK if we roll over, so // just count from 0 to 5*65536. Adding 256 to firstPixelHue each time // means we'll make 5*65536/256 = 1280 passes through this outer loop: for(long firstPixelHue = 0; firstPixelHue < 5*65536; firstPixelHue += 256) { for(int i=0; i<strip.numPixels(); i++) { // For each pixel in strip... // Offset pixel hue by an amount to make one full revolution of the // color wheel (range of 65536) along the length of the strip // (strip.numPixels() steps): int pixelHue = firstPixelHue + (i * 65536L / strip.numPixels()); // strip.ColorHSV() can take 1 or 3 arguments: a hue (0 to 65535) or // optionally add saturation and value (brightness) (each 0 to 255). // Here we're using just the single-argument hue variant. The result // is passed through strip.gamma32() to provide 'truer' colors // before assigning to each pixel: strip.setPixelColor(i, strip.gamma32(strip.ColorHSV(pixelHue))); } strip.show(); // Update strip with new contents delay(wait); // Pause for a moment } } // Rainbow-enhanced theater marquee. Pass delay time (in ms) between frames. void theaterChaseRainbow(int wait) { int firstPixelHue = 0; // First pixel starts at red (hue 0) for(int a=0; a<30; a++) { // Repeat 30 times... for(int b=0; b<3; b++) { // 'b' counts from 0 to 2... strip.clear(); // Set all pixels in RAM to 0 (off) // 'c' counts up from 'b' to end of strip in increments of 3... for(int c=b; c<strip.numPixels(); c += 3) { // hue of pixel 'c' is offset by an amount to make one full // revolution of the color wheel (range 65536) along the length // of the strip (strip.numPixels() steps): int hue = firstPixelHue + c * 65536L / strip.numPixels(); uint32_t color = strip.gamma32(strip.ColorHSV(hue)); // hue -> RGB strip.setPixelColor(c, color); // Set pixel 'c' to value 'color' } strip.show(); // Update strip with new contents delay(wait); // Pause for a moment firstPixelHue += 65536 / 90; // One cycle of color wheel over 90 frames } } } |
Библиотека Adafruit NeoPixel
Документация WS2812B

